
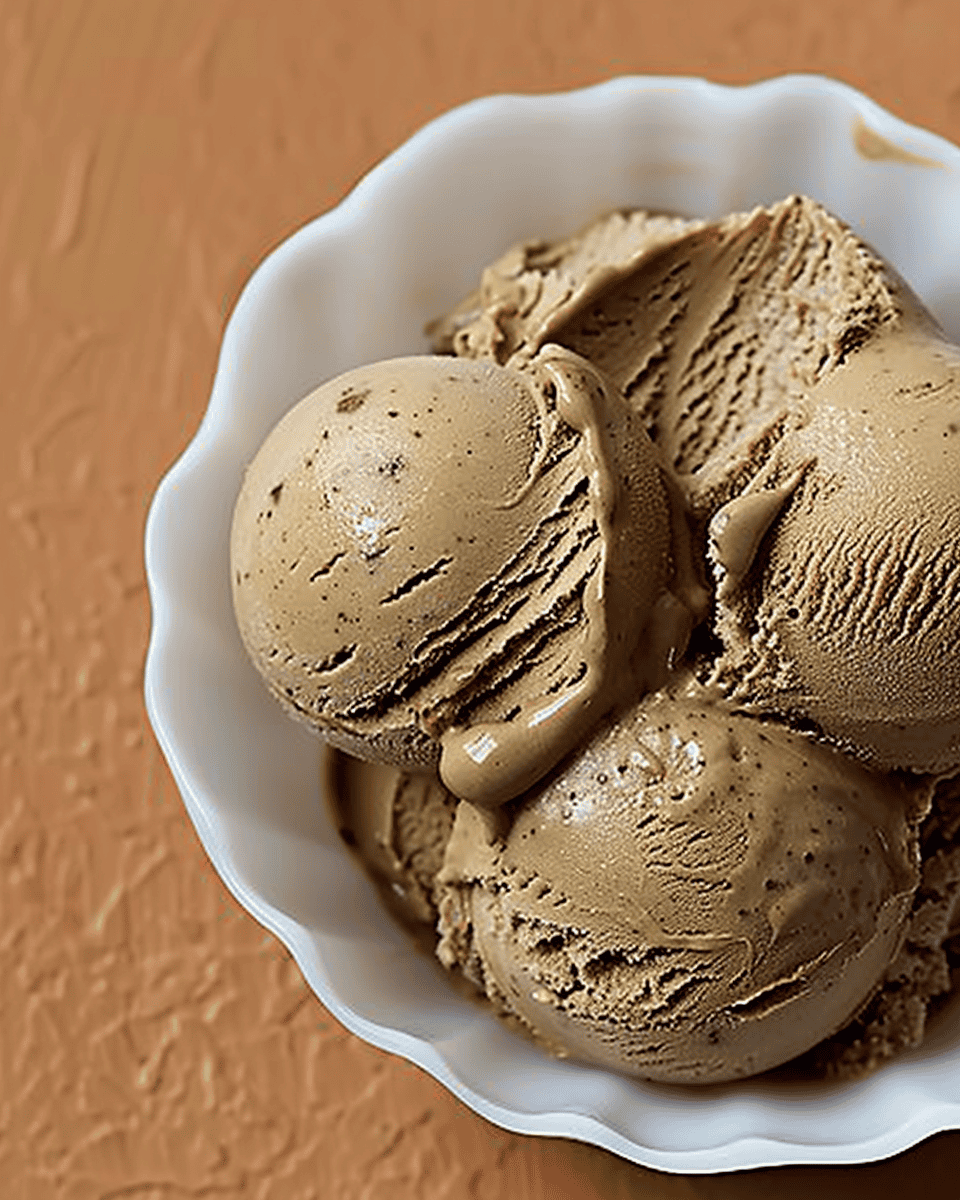
Coffee Ice Cream Recipe
Indulge in the rich and creamy delight of homemade Coffee Ice Cream! This easy-to-make recipe combines the bold flavors of coffee with the creamy goodness of whipped cream and sweetened condensed milk. Perfect for coffee lovers and ice cream enthusiasts alike, this treat is sure to satisfy your cravings. Let’s dive into the details and make this delicious dessert.
Ingredients:
- 4 tablespoons instant coffee
- 1 liter heavy whipping cream
- 400 grams sweetened condensed milk
Directions:
- Dissolve the Coffee:
- In a small amount of water, dissolve the 4 tablespoons of instant coffee until fully combined. This will ensure that your coffee ice cream has a smooth and rich coffee flavor.
- Combine with Condensed Milk:
- In a mixing bowl, combine the dissolved coffee with the 400 grams of sweetened condensed milk. Stir until the mixture is smooth and well-blended.
- Whip the Cream:
- In a separate bowl, whip the 1 liter of heavy cream until it doubles in volume and forms stiff peaks. This will give your ice cream its light and airy texture.
- Fold Ingredients Together:
- Gently fold the coffee and condensed milk mixture into the whipped cream. Mix slowly and carefully until well combined, ensuring you retain the lightness of the whipped cream.
- Freeze the Mixture:
- Pour the mixture into a container and place it in the freezer for at least 6 hours, or until firm. This allows the ice cream to set and develop its creamy consistency.
Serving Suggestions:
- Prep Time: 15 minutes
- Cooking Time: 0 minutes
- Total Time: 6 hours 15 minutes
- Calories: 250 kcal per serving
- Servings: 8 servings
Enjoy this delightful Coffee Ice Cream on its own, or pair it with your favorite desserts like brownies, cookies, or cake. Its rich coffee flavor and creamy texture make it a perfect treat for any occasion.
Tips:
- For an extra kick of coffee flavor, sprinkle some finely ground coffee beans on top before serving.
- If you prefer a sweeter ice cream, you can add a bit more sweetened condensed milk to taste.
- Experiment with add-ins like chocolate chips or caramel swirls for a unique twist.
I hope you enjoy making and savoring this delicious Coffee Ice Cream! Let me know how it turns out in the comments below, and feel free to share your own variations and tips. Happy cooking!
Print
Coffee Ice Cream
- Total Time: 6 hours 15 minutes
- Yield: 8 1x
Description
There’s nothing quite like the rich, creamy taste of homemade coffee ice cream to cool you down on a hot summer day. This easy-to-make dessert combines the bold flavor of coffee with the smooth, velvety texture of ice cream, creating a treat that’s sure to please any coffee lover.
Whether you’re enjoying it in a cone, a bowl, or as an addition to your favorite dessert, this coffee ice cream is perfect for any occasion. The best part? You don’t need an ice cream maker to whip up this delightful dessert. Just a few simple ingredients and a bit of patience, and you’ll have a delicious, homemade ice cream that’s every bit as good as what you’d find at your favorite ice cream shop.
Ingredients
4 tablespoons instant coffee
1 liter heavy whipping cream
400 grams sweetened condensed milk
Instructions
Dissolve the instant coffee in a small amount of water until fully combined.
In a mixing bowl, combine the dissolved coffee with the sweetened condensed milk, stirring until smooth.
Whip the heavy cream in a separate bowl until it doubles in volume and forms stiff peaks.
Gently fold the coffee and condensed milk mixture into the whipped cream, mixing slowly until well combined.
Pour the mixture into a container and place it in the freezer for at least 6 hours, or until firm.
- Prep Time: 15 minutes
Nutrition
- Calories: 250 kcal