No-Bake Pumpkin Cheesecake Mousse – Creamy, Dreamy, and Perfect for Fall
If you’re craving all the flavors of a pumpkin cheesecake without the fuss of baking, this No-Bake Pumpkin Cheesecake Mousse is the answer! Light, creamy, and packed with warm spices, this mousse is a delightful way to embrace the cozy essence of fall. It’s quick to make, easy to assemble, and makes a fantastic dessert for gatherings, holidays, or anytime you want a no-bake treat.
Why You’ll Love This No-Bake Pumpkin Cheesecake Mousse
This mousse combines the best of both worlds – the richness of cheesecake and the light, airy texture of whipped cream. With warm cinnamon, nutmeg, and ginger, it’s a dessert that’s comforting and indulgent. Plus, the option to serve with a layer of crushed gingersnaps gives it a delightful crunch that perfectly complements the creamy mousse.
No-Bake Pumpkin Cheesecake Mousse Recipe
Ingredients
- 1 ½ cups heavy whipping cream
- 1 cup powdered sugar
- 1 teaspoon pure vanilla extract
- 6 ounces full-fat cream cheese (block style, softened)
- 1 cup canned pumpkin puree (not pumpkin pie filling)
- 1 ½ teaspoons ground cinnamon
- ½ teaspoon ground nutmeg
- ¼ teaspoon ground ginger
- Pinch of ground cloves
- Optional: ½ cup crushed gingersnaps (for serving if eating the same day)
Directions
- Whip the Cream
In the bowl of a stand mixer, whisk the heavy whipping cream on high speed until it begins to froth, about 2 minutes. Gradually add powdered sugar and vanilla extract, continuing to beat until soft peaks form. Transfer the whipped cream to a separate bowl and set aside. - Prepare the Cream Cheese and Pumpkin Mixture
In the same bowl (no need to clean it), beat the cream cheese on medium speed until smooth. Add the pumpkin puree, cinnamon, nutmeg, ginger, and cloves, mixing until fully combined. Be sure to scrape down the sides of the bowl as needed to incorporate everything evenly. - Fold in the Whipped Cream
Gently fold in all but one cup of the whipped cream, mixing until the mousse is smooth and creamy. - Optional Gingersnap Layer
If serving the mousse immediately, you can line the bottom of 4-6 small ramekins or dessert cups with crushed gingersnaps for a crunchy base. Otherwise, skip this step to avoid soggy cookies. - Pipe the Mousse
Using a piping bag fitted with a large tip, pipe the mousse into the ramekins or dessert cups. Top each with a dollop of the reserved whipped cream and sprinkle with a dash of cinnamon. - Chill and Serve
Chill the mousse in the refrigerator for at least one hour before serving. Store any leftovers in the fridge for up to two days.
Recipe Details
- Prep Time: 15 minutes
- Chill Time: 1 hour
- Total Time: 1 hour 15 minutes
- Calories: 320 kcal per serving
- Servings: 4-6 servings
Tips for Making the Perfect Pumpkin Cheesecake Mousse
- Soft Cream Cheese: Make sure the cream cheese is softened to ensure a smooth, lump-free mousse.
- Avoid Over-Mixing: When folding in the whipped cream, be gentle to keep the mousse light and airy.
- Optional Crunch: The gingersnap base adds texture, but if making ahead, avoid adding it to prevent sogginess.
Serving Suggestions
This No-Bake Pumpkin Cheesecake Mousse is delightful on its own, but here are a few ways to elevate it further:
- Garnish with Gingersnap Crumble: Sprinkle a bit of crushed gingersnap on top for an added crunch.
- Top with Toasted Pecans: A few toasted pecans add a nutty depth that pairs beautifully with the spices.
- Serve in Mini Jars: If serving at a party, present the mousse in small jars for a fun, portable dessert option.
Storing Leftovers
Store any leftovers in an airtight container in the refrigerator for up to two days. Avoid adding crushed cookies if storing for later, as they may lose their crunch over time.
Final Thoughts
This No-Bake Pumpkin Cheesecake Mousse is a delightful dessert that captures all the comforting flavors of fall without needing an oven. Its creamy texture, combined with the perfect balance of pumpkin and spices, makes it a must-try treat for any pumpkin lover. Whether you’re hosting a gathering or just treating yourself, this mousse is sure to impress.
Print
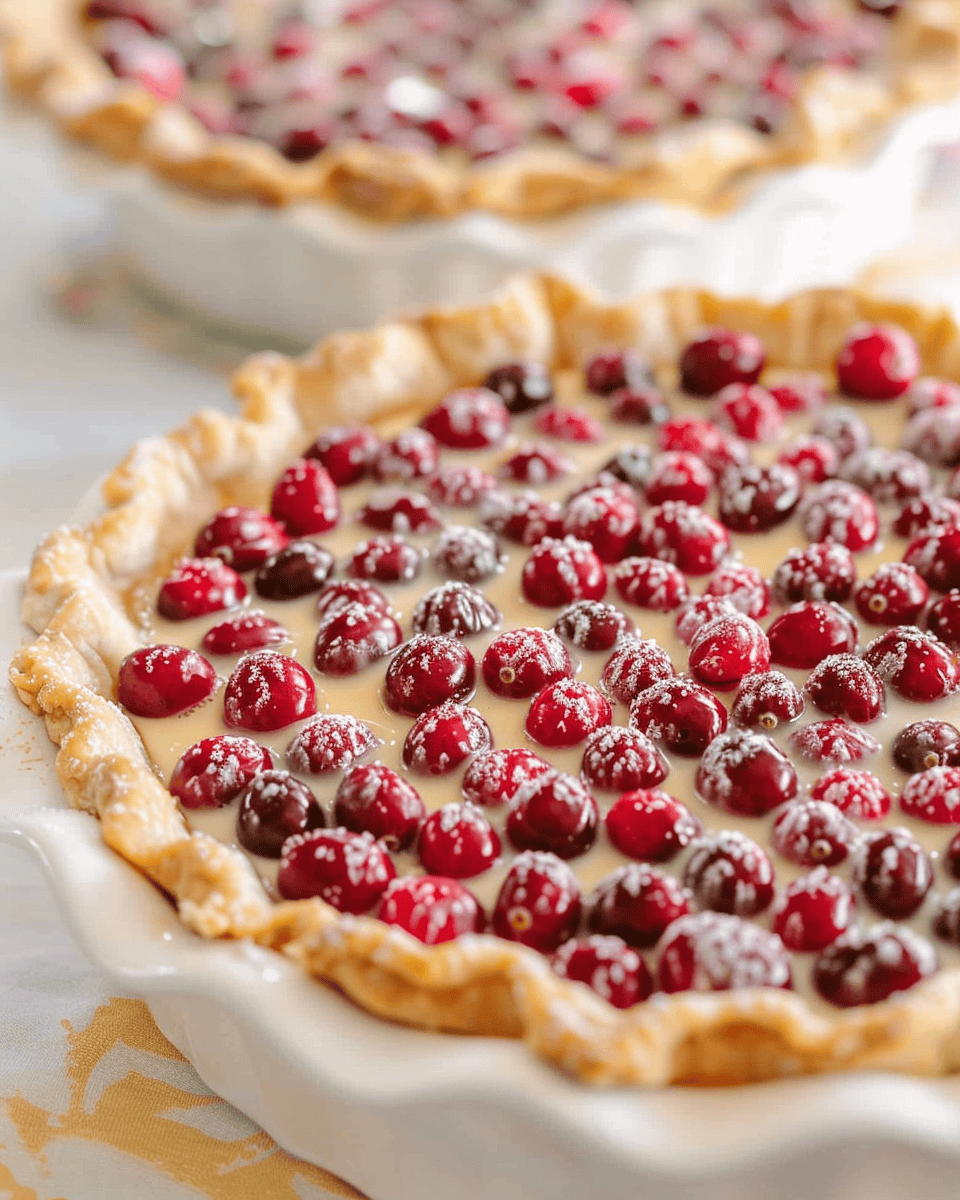
Cranberry Orange Custard Pie
- Total Time: 1 hour 10 minutes
- Yield: 8 1x
Description
This Cranberry Orange Custard Pie combines the tartness of fresh cranberries with the creamy richness of a smooth custard, infused with bright notes of orange zest. The balance of sweet and tangy flavors creates a delightful pie that’s perfect for any fall or holiday gathering. The cranberries provide a burst of freshness, while the custard sets into a creamy, luscious filling that melts in your mouth.
Ingredients
10-inch unbaked pie shell
12 oz. bag fresh cranberries (if frozen, thaw and pat dry)
1 1/2 cups sugar
3 eggs, beaten
1 cup heavy whipping cream
1/4 cup flour
1/2 teaspoon salt
1 tablespoon orange zest
1 teaspoon vanilla extract
Instructions
Preheat your oven to 400°F (200°C).
Place the cranberries evenly in the unbaked pie shell.
In a separate bowl, whisk together the sugar, beaten eggs, heavy whipping cream, flour, salt, orange zest, and vanilla extract until fully combined.
Pour the custard mixture over the cranberries in the pie shell.
Bake the pie at 400°F for 10 minutes.
Reduce the oven temperature to 350°F (175°C) and cover the crust with a pie crust shield or tin foil to prevent burning. Continue baking for 40-45 minutes, or until the custard is set.
Let the pie cool completely before serving. Store any leftovers in the refrigerator.
- Prep Time: 15 minutes
- Cook Time: 55 minutes
Nutrition
- Calories: 310

